



How to replace the electrical components in an ss packing conveyor?
Dec 17, 2025
Leave a message
Hey there! As a supplier of SS packing conveyors, I often get asked about how to replace the electrical components in these machines. It might seem like a daunting task, but with the right know - how, it can be a smooth process. In this blog, I'll walk you through the steps to replace electrical components in an SS packing conveyor.


Understanding Your SS Packing Conveyor
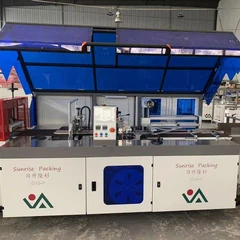
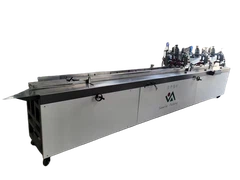
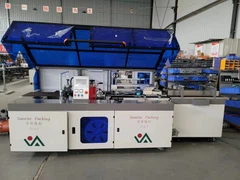
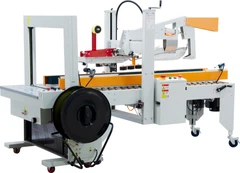
First off, let's talk about what an SS packing conveyor is. An SS Packing Conveyor is a type of conveyor system made from stainless steel. It's widely used in industries for packing various products because of its durability and resistance to corrosion. There are different types, like the Power Stainless Steel Packing Conveyor and the Stainless Steel Roller Conveyor.
These conveyors rely on electrical components to function properly. Electrical components such as motors, sensors, and control panels are the heart and soul of the conveyor. Without them working correctly, the conveyor won't be able to move products efficiently.
Preparing for the Replacement
Before you start replacing any electrical components, safety should be your top priority. Make sure to turn off the power supply to the conveyor. This might seem obvious, but you'd be surprised how many accidents happen because people forget this simple step. You can usually find the main power switch near the control panel of the conveyor.
Once the power is off, gather the tools you'll need. You'll likely need a set of screwdrivers (both flat - head and Phillips - head), pliers, wire strippers, and possibly a multimeter to test the electrical connections. Also, make sure you have the replacement component ready. It's crucial to get the right part that matches the specifications of your conveyor. You can usually find the part number on the old component or in the conveyor's manual.
Identifying the Faulty Component
The next step is to figure out which electrical component is causing the problem. This can be a bit tricky, but there are some signs to look out for. If the conveyor isn't moving at all, the motor might be the culprit. Check for any visible damage to the motor, like burnt wires or a broken casing.
Sensors are another common problem area. If the conveyor isn't detecting products properly, the sensors might be dirty or malfunctioning. You can clean the sensors with a soft, dry cloth and see if that solves the issue. If not, it's likely time to replace them.
Control panels can also cause problems. If the conveyor isn't responding to commands or is showing error messages, there could be an issue with the control panel. Look for loose connections or burnt circuit boards inside the control panel.
Removing the Old Component
Once you've identified the faulty component, it's time to remove it. Start by disconnecting any wires connected to the component. Use the pliers and wire strippers to carefully remove the wire connectors. Make sure to label the wires as you remove them so you know where they go when you install the new component.
Next, use the screwdrivers to remove any screws or bolts holding the component in place. Gently lift the component out of the conveyor. Be careful not to damage any other parts of the conveyor while doing this.
Installing the New Component
Now that the old component is out, it's time to install the new one. First, position the new component in the same place where the old one was. Make sure it fits properly and aligns with the mounting holes.
Reconnect the wires according to the labels you made earlier. Double - check the connections to make sure they're secure. Tighten any screws or bolts to hold the new component in place.
Testing the New Component
After installing the new component, it's time to test it. Before turning on the main power, use the multimeter to check the electrical connections for continuity and proper voltage. This will help you make sure there are no short circuits or other electrical issues.
Once you're satisfied with the electrical checks, turn on the power supply to the conveyor. Start the conveyor and see if it's working properly. If everything is running smoothly, that's great news! If not, go back and check your connections or look for other possible issues.
Maintenance Tips
To avoid having to replace electrical components too often, regular maintenance is key. Clean the electrical components regularly to prevent dust and debris from building up. Check the connections periodically to make sure they're tight.
Inspect the motors, sensors, and control panels for any signs of wear and tear. If you notice any problems early on, you can address them before they turn into major issues.
Conclusion
Replacing electrical components in an SS packing conveyor isn't as hard as it might seem. By following these steps, you can keep your conveyor running smoothly and efficiently. If you have any questions or need further assistance, don't hesitate to reach out. Whether you're looking to replace a single component or need a whole new SS Packing Conveyor, we're here to help. We're always ready to discuss your needs and provide the best solutions for your business. Contact us to start a conversation about your conveyor requirements and let's see how we can work together to improve your operations.
References
- Conveyor Handbook: A guide to conveyor systems and their components.
- Electrical Maintenance Manual for Industrial Equipment.
Send Inquiry