

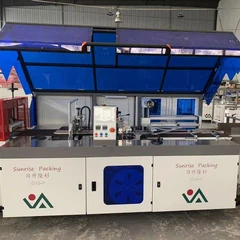
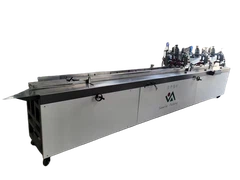
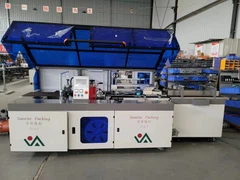

How to use the plastic sealing machine
Feb 20, 2024
Leave a message
1. After connecting the power cord, adjust the temperature adjustment knob to the position indicated by the cold mounting arrow, and open the rear guide to connect the power. At this time, the power indicator light is on and the motor starts.
2. If hot plastic is needed, use a thermoplastic protective film. According to the thickness specification of the protective film used, adjust the temperature adjustment knob to the position indicated by the arrow corresponding to the thickness of the protective film. At this time, the heating indicator light (green) will flash to indicate that the machine is being heated and preheated for about 5-7 minutes. When the heating indicator light changes from flashing to permanently on, it indicates that the machine has completed preheating and can be over molded.
3. If it is necessary to exit or place the plastic part diagonally, when the key is stuck, you can press the film release button, and the plastic part will automatically exit from the film inlet. Use one hand to push the stop button and the other hand to assist in pulling it out.
4. After the over molding is completed, to ensure safety, adjust the temperature to the indicated position for cold lamination. After the idle cooling temperature drops below 80 degrees, close the rear guide and unplug the power plug.
5. If cold lamination is required at the beginning of startup, use cold lamination film and adjust the temperature adjustment knob to the position indicated by the cold lamination arrow, which can be directly over molded.
6. If cold lamination is required after a period of use in thermoplastic packaging, use cold lamination film, adjust the knob to the position indicated by the cold lamination arrow, and let it cool for 10 minutes before cold lamination.
Send Inquiry